playerv
[Player utilities]
Collaboration diagram for playerv:

|
- Synopsis
playerv requires the GTK+-2.0 development libraries and headers.
- Usage
$ playerv [-h <hostname>] [-p <port>] [-rate <Hz>] [--<device>:<index>] [--<device>:<index>] ...
$ playerv --position:0 --sonar:0
$ playerv -h foo -p 7000
If rate is a positive value, playerv attempts to poll the server for data at the requested rate, in Hz. If rate is 0, then playerv switches to PUSH mode, in which the server pushes all data, when it's ready. The default rate is 5Hz.
When playerv starts, a window will pop up. Click and drag with the left mouse button to pan the window. Click and drag with the right mouse buttom to zoom the window. These are the same controls as Stage 1.3.x.
Use the "Devices" menu to control device subscriptions. For devices that can be teleoperated via playerv, click the "Command" item in the submenu for that device. See below for how to teleoperate different kinds of devices.
The "View" menu offers options for changing the look of the display.
The "File" menu offers options for dumping JPG and PPM screenshots and making MPEG movies (to make movies, you must have enabled movie support when building librtk).
- Features
playerv provides teleoperation of the following kinds of devices:
- position2d : In velocity mode (the default), click and drag with the left mouse button to set desired velocity vector (this will only work if the underlying driver supports velocity control; most position drivers do). In position mode (select "Position mode" from the device's submenu), click and drag with the left mouse button to set a position target (this will only work if the underlying driver support position control; vfh is one example).
- ptz : Click and drag the green circle to pan and zoom; click and drag the blue circle to tilt.
- Screenshots

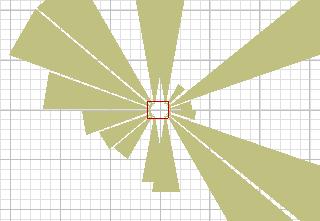
Screenshot of playerv showing position and sonar data

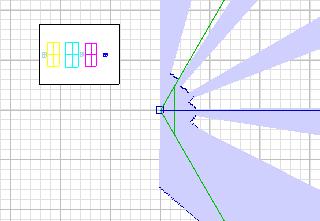
Screenshot of playerv showing position, laser, blobfinder, and ptz data
